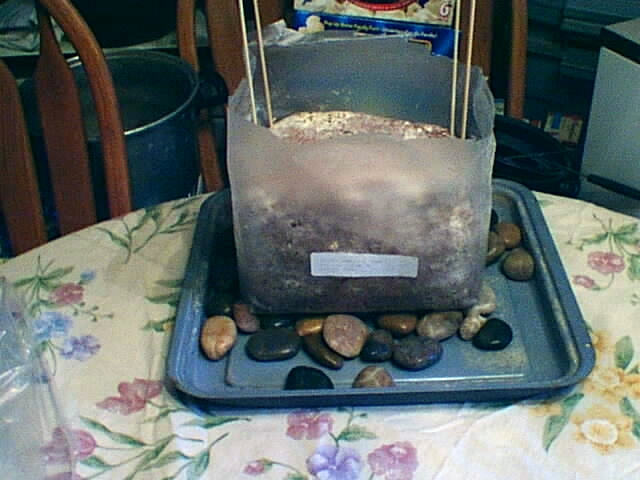
Thursday, November 30, 2006


Mushrooms day 4...time to lookup recipies, cuz' I'll be harvesting probably tomorrow already! It's so satisfying to grow something sucessfully, even if all I did was open the box and set it up!

Mushrooms day 3...wow again! These things are popping up like...mushrooms! :) Can't wait to harvest these babies!

Mushroom kit day 2...wow! Look at all this pinning going on just a day later!


New Mushroom Project...my friends at http://www.fieldforest.net/ hooked me up again! I was impatient waiting for my outdoor project to start fruiting, so I bought this "Tabletop Oyster Farm" to get my yummy mushroom fix sooner. Opened it up Saturday, followed the setup instructions...here we go...

Wednesday, November 29, 2006


Cute as a button! This single branch of Christmas cactus has been rooting in water on the windowsill since spring, and I was just thinking how I should plant it soon, when suddenly flower buds appeared! I'm thrilled, especially considering the "mother" plant isn't blooming at all. Maybe I should cut it into a bunch of small pieces.....

Monday, November 27, 2006


More hardiness tests...everybody knows sedums can be hardy and tough, so I wanna find out how tough! The green one is 'Acre', and the red is 'Dragon's Blood'...and I have plenty of both...so the resin face planter-stays on the wall! The puny little 4" pots on the cyclone fence-stay all winter! I'll show these plump little succulents what tough is! (Or plant new in the spring... :)


Ignorance is bliss....looks like these plants don't know it's November, and I really hate to break it to them! The "spring bulb" sending up foliage next to the carnation is really confused...but that's my fault-I didn't manage to get them in the ground until this past spring when they should have been in bloom...heh, more fallout from losing my "roundtuit"...wish I could find that blasted thing!


Mild Weather last weekend, and although it felt strange in late November, I was out watering! It's been quite dry up here lately, so I wanted to at least water the areas around the house and garage that get dry due to roof overhangs. The pots getting a drink are my two "long winter's nap" areas...one is my successful area between the house and garage-even the smallest pots survive no problem. The area by the red compost barrel is an expiriment just this year-these are plants I will either sell or give away, so I'll risk sacrificing them to see if they can make it out here...I am running out of space between the buildings. The area they're in is somewhat protected by overhead trees, but not as sheltered as the other spot. I hope it works, because I have "extra" plants more and more...The other area between the cyclone fence and garage is chronically dry-only variegated hostas make it there so far...may have to try some soaker hose next year. Fun to dream about the next growing season already!

Saturday, November 25, 2006


So here's a switch...NOT happy to get a plant order! I'm on the internet, doing a search for a plant I'm lusting for a couple weeks ago (echinacea 'Prairie Frost'), and I manage to find it! (At FieldstoneGardens.com) I place the order...and specify in comments that I want it shipped next Spring. So today I get the mail...and there it is! NOW WHAT?! I mean, it's November in zone 4! I open it up...bare-root, decent size...and we are in an odd warm trend...but only for another week or so. I'm torn as to what will give best odds for survival...I settle on planting in a terra cotta pot, and placing it in the "Long Winter's Nap" area between my house and garage. Here is where nearly everything can survive my winters...no real mulch...I just let leaves blow over the pots, and shovel snow over them in winter for insulation. Freakish sucess, to say the least...but I'm still worried....

Saturday, November 18, 2006


"Shrinking Violet?" This african violet has me stumped! All my other violets growing in the same area are doing great, this one is droopy and weird! It's in a pot with capillary action, so it draws moisture from the water-filled pot below...so I know it's not too wet. I made sure the soil was moist enough around it too, so it's not too dry, either. I tried fertilizer in the water within the pot below in case it was hungry...but it's been over a month and no improvement! In the past, this plant has flourished, blooming for months on end... now what? Is it pot-bound? Is it dying a natural death? Anybody have any ideas??

Tuesday, November 14, 2006


Worm bin update...
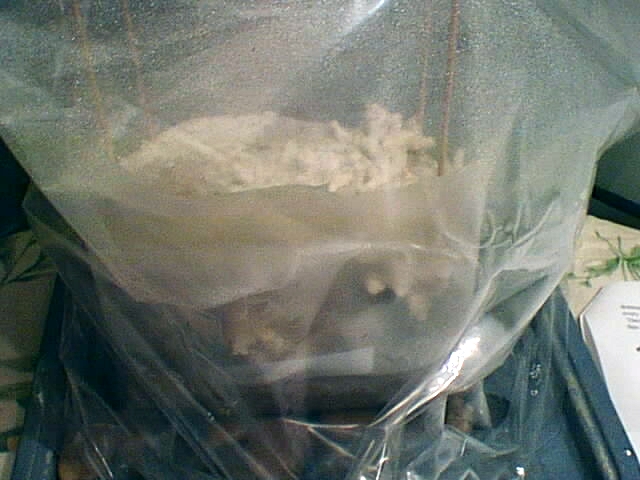
after I'd added lime and bedding when I thought the bin was too wet, I was concerned that I harmed my little friends with the "hydrated pickling lime". So I went to http://wormdigest.org and cruised the forums for info...one guy said that "mixing the limestone in dry can cause the worms to burn..." yea, I observed them writhing in pain...bummer! then another guy said (in reference to lime)"...be careful about which one you get, hydrated lime will kill all your worms." 
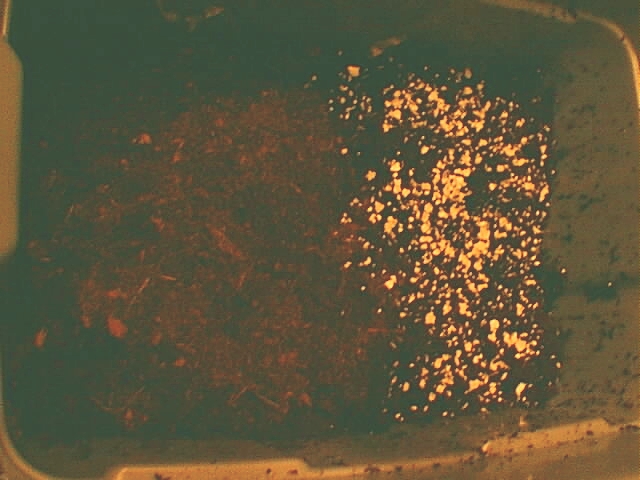
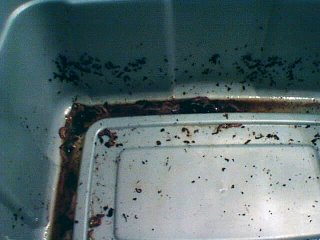
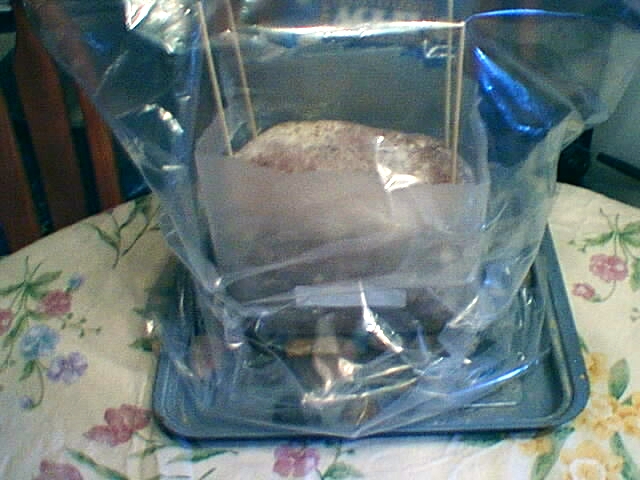
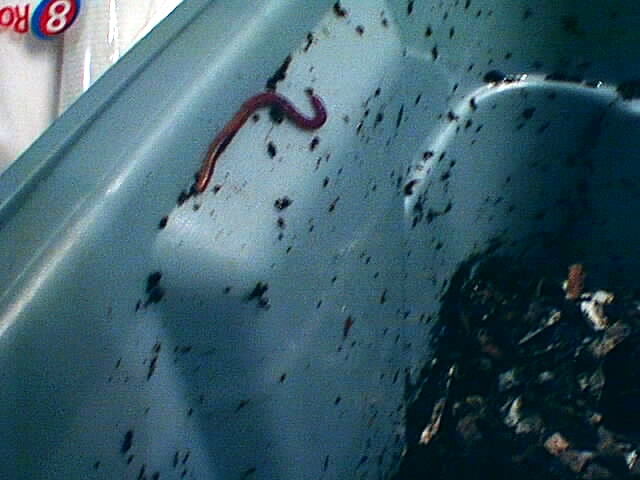
Yikes! So I had to try a "body count" tonight...first when I opened the bin, I saw 2 survivors crawling around the sides of the bin-good sign, I figured. Then, upon digging around, I found some concentrated areas of the lime which were somewhat moist (but devoid of worms), and other areas of worms that looked fine! Yay-they aren't all dead! Some worms did have lumpy-looking bodies as though they had some kind of injury (chemical burns from their "slumlord"!)...but no mass casualties. So I dug around a bit, moistening the lime pockets so they would cause no further injury, sprinkled moistened coir over the top to add a little more "safe zone" which would be lime-free, and sprayed a little water over the top. Overall, the bin didn't seem too wet, the smell was a normal, "earthy" odor, and the recent feeding didn't look yucky or eaten up, so I didn't add any food. The other tidbit I picked up from the forums was to check the bottom "moisture-collecting" bin about once weekly. When I opened it up, I saw only a tiny bit of moisture with about a dozen dead, smelly worms in it. So I rinsed and flushed them, and re-assembled the bin, putting them "to bed" for the night. So here are a couple things I've learned so far: not all info is valid, so check forums to get tips from people who actually have bins...any adjustments you try to make for pH or moisture balance should be done in moderation, using the least extreme method possible (for instance, I could have simply added bedding for the moisture and smell balance)...check the bin about once a week so that any problems can be rectified in time to prevent a crisis....if lots (more than a dozen) of worms are trying to escape either into the bottom or onto the floor outside the bin-something's wrong....and probably the best advice-this is just an experiment, so mistakes will be made, and worst case: I'll be out $25 in worms and will need to compost them all and start over. And since they're not all dead yet...then onward ho!

Sunday, November 12, 2006


Finally got outside this afternoon once the worm bin was dealt with...and after spreading manure and schlepping wood, I am really sore! Tomorrow will be even worse...I knew there was a compelling reason to stay in shape as I got older ;) I guess all those health nuts know what they're talking about...now where'd I put my beer? :)


Worm Update-the bin has been emitting a "rotting" smell for a couple days, so I opened it up to check it out. Looks like it may be too damp, I had added a layer of scraps a few days ago..a couple worms were crawling up the sides, too. According to the literature, you can mix in lime and add some bedding if there is a smell issue, so I looked around for lime. Found some food-grade, "hydrated pickling lime", and figured that would do the trick. I became concerned, though, when I read the label to say that "prolonged contact with skin may cause burns"...is this really ok for worms? Then I remembered that the same is true of the lime you buy at garden stores...so I sprinkled some over the scraps in the bin. Sure enough, the worms were writhing as if in pain [ :( ] but I mixed in the lime just the same, then covered with moistened shredded paper, moistened moss, then sprinkled coffee grounds (mostly dry) over the top. Now the only smell is "earthy", the way it's supposed to be...I just hope my wormies aren't adversely affected by that lime! Guess I'll find out in a few days...

Saturday, November 11, 2006


First snowfall...started yesterday, really wet, heavy stuff. I got some pics by the light of the headlamps last night...then again today. I was really whining about it at work yesterday, because I still have some manure to spread and summer bulbs to bring in. But then I realized that precipitation in any form is a blessing right now...and besides, it's not like my complaining can actually affect a change! Temps forecast for tomorrow are mid-40's anyway...so I can finish my "crap" (pun intended) then.


The end of the beginning...when we left our mushroom project, I'd run short of plugs...so I went out the next day to Field and Forest to buy more, without an exact number to work with (I figured 100 more would do it.) Got home "finish" my project, only to discover that 100 plugs would not be enough. Oh well, I was ready to be done...and I know I'd spaced many holes too closely. So I staggered the plugs to be spaced appropriately, and now it's time to cover them all with wax. Not looking forward to such time-consuming tedium, I got the bright idea to heat the wax and "paint" it on. As good as this sounded in theory....reality was a dripping, undirectable, inefficient mess. *Sigh*...so I commenced to glop wax over each and every plug individually...and again with the truck headlights assisting visibility, my project went on into the evening. I got wax coverage of all but the very bottom holes...again figuring that moisture loss will be mitigated by the tree remaining rooted. I mean, much as I like visiting the folks at Field and Forest...I am absolutely ready to be done launching this project already!! The other pictures in this post are of the small shiitake log I did at the seminar 4/05....it's just lying behind this old wheelbarrow in the shade, popping out mushrooms. When I'd first placed it out there, I observed that something had gouged out most all the spawn-filled holes (turkeys and pine squirrels are said to love this stuff)....so I thought nothing would happen. But that's the beauty of mycelium....they get into a spot and run like crazy...here's hoping they do the same in my big, rooted stump!

Thursday, November 09, 2006


What to do with my oversized tree stump? Grow Mushrooms! Last spring, I went to a "Mushroom Cultivation Seminar" at Field and Forest Products, http://www.fieldforest.net/ and tried my hand at innoculating an oak log with shiitake mushroom spawn plugs. Well beginning that same fall, I began to harvest mushrooms at a rate of about 2-3 every other week, and except for winter time, I still do! So armed with this rookie sucess, I decided to try a log still rooted....top pic is what I hope my finished product will be! I figure that the spawn may be aggressive enough to keep the stump "too busy" to put out new shoots, and I may get some yummy gourmet mushrooms out of it! (No psychadellics...really!) So after consulting with the experts, the strain settled upon was "Italian" oyster, due to the season as well as the aggressive nature of this type of spawn. So my friends at Field and Forest hooked me up with "plug spawn" (spawn impregnated in wooden plugs), a drill bit with a stop collar to drill correct depth, and "plug wax" to cover the plugs to hold in moisture. (Total cost $43 plus tax) Well, given the size of the stump, I bought 750 plugs...yea, drilling got very old very fast! But I powered thru, all the while drilling but not exactly counting. So then time to hammer in 750 plugs...yet another repetitive motion task that got really old! So as I finished in the dark with my truck headlights to assist, I realized I'd drilled too many holes for my plugs. And although the instructions say to cover each one with wax immediately, I was sooo over it...plus I figured the usual moisture loss would be mitigated by the fact that this log was still rooted. So I decided to purchase more plugs to finish the job...again without actually counting.....
New Project! I had some trees trimmed, and a couple maples cut down...one stump was leveled and left about a foot tall to accomodate a planter, but I have a tall trellis leaning against this one. So I had them leave it 6 feet tall...while I may have a problem with regrowth from the stump, I have another use for this specimen...

Saturday, November 04, 2006


Oops! I forgot the eggshells! I knew in advance that worms need these, and I'd rinsed some and had them drying, but forgot to add them with the food. My research stated to crush them with a rolling pin, but the meat tenderizer was more handy. So I sprinkled them over the "food area"...figuring they'll just get covered with more layers of scraps and bedding soon. Hopefully now they're all set...