
Thursday, March 15, 2007

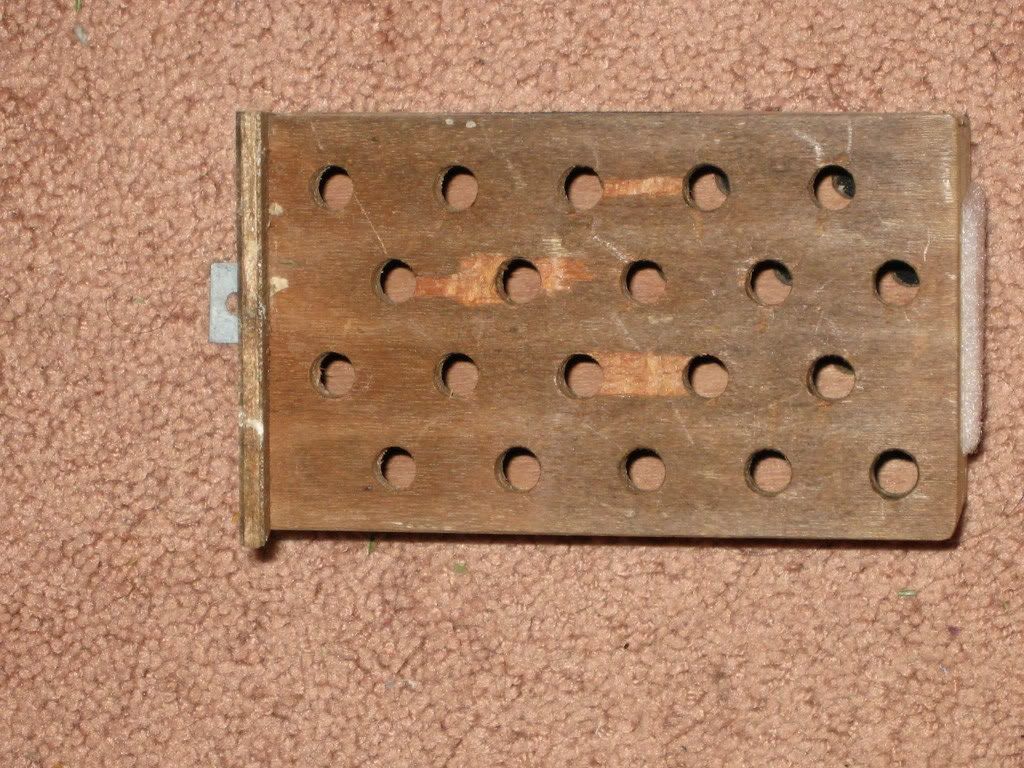
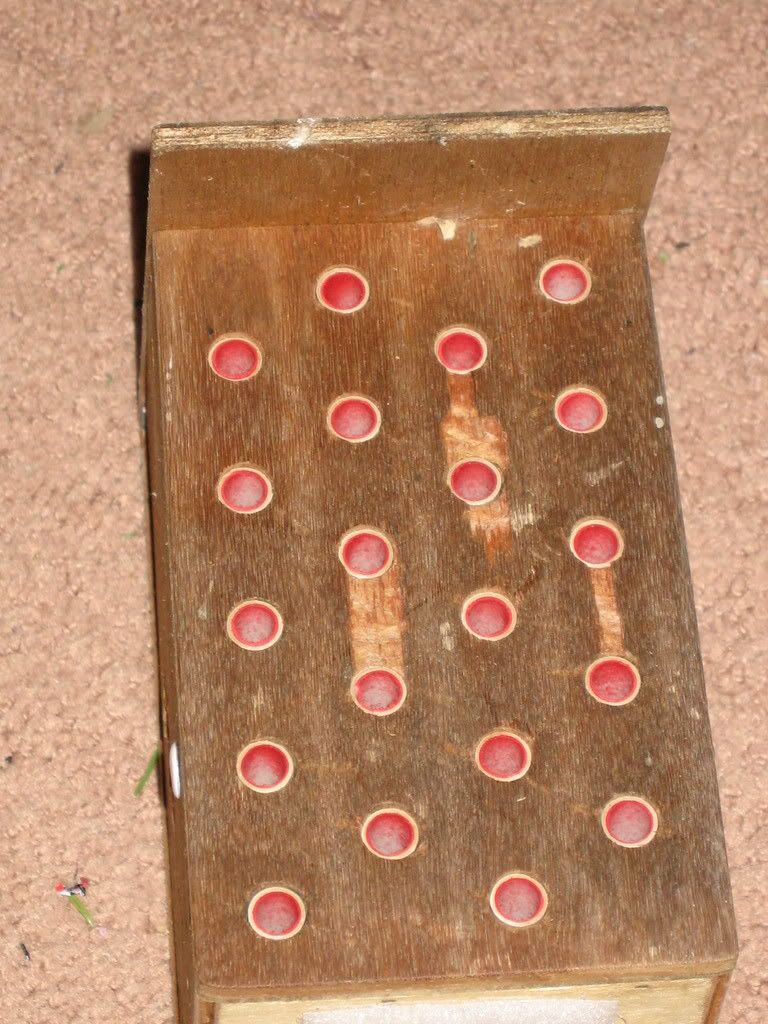
Preparing for pollinators...this is my Mason Bee nest block, and since Spring is upon us, time to clean house! I originally bought this house from http://www.raintreenursery.com/ after spotting the nests in a few other catalogs. I liked the sound of this model, because you replace the nest tubes annually, and the cardboard liners in the holes as needed. According to the mfg.,
http://www.entomologic.com/ , this type of nest is healthier for the bees. Mason bees (blue orchard bees, osmia lignaria) are very easy to keep...they don't make honey, rarely sting, and are great pollinators (read more here http://www.entomologic.com/BOB/BOBinfo.html ).
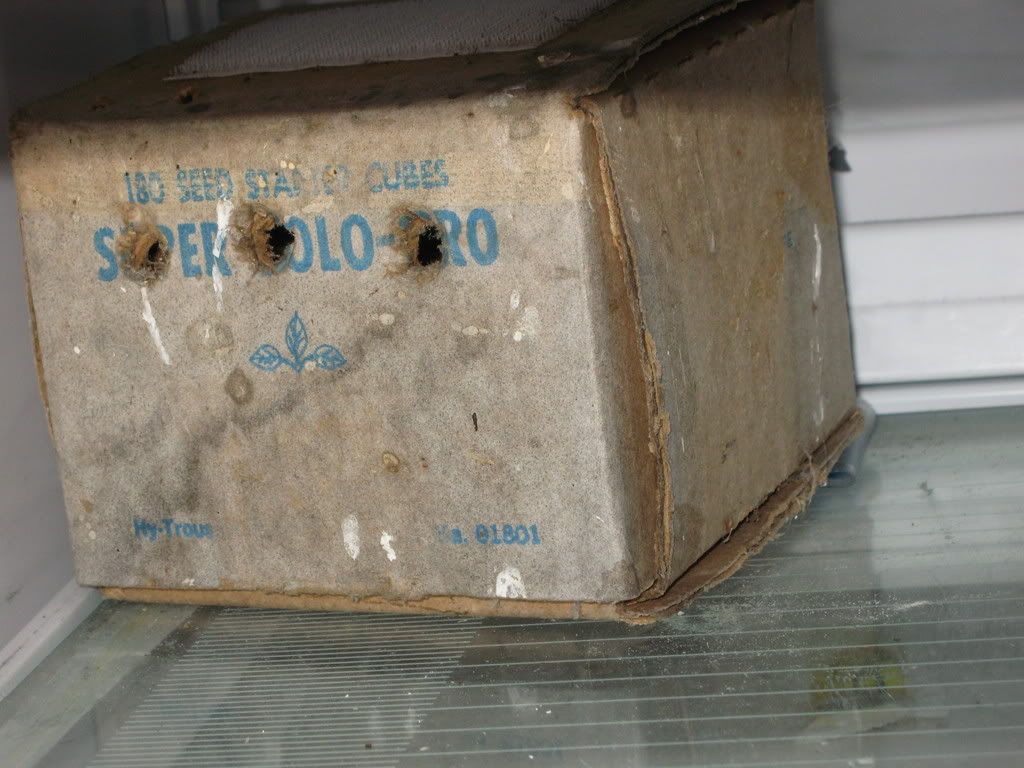

This faded cardboard box holds the tubes from last season with "baby bees" in them. I winter them over in the fridge, then attach the box to the bottom of the nest box in the spring. The bees hatch, fly out, pollinate stuff, and fill the nest block with new babies. Then I take down the nest about October, remove the tubes, put them in this box in the fridge, and wait until about April to start the process over.



So... we start with the naked box...some of the "veneer" has come off from woodpeckers discovering the larvae-filled nest tubes. Next insert the cardboard liners, and finally the white nesting tubes...voila'! All set for tenants! I hang this in a protected spot facing east, between the house and garage. These bees are especially fond of "stone and pome" type fruits, so my plums and cherries enjoy their company, too! The only drawback is that the bees resemble houseflies, so I don't kill flies anymore except in the house. I originally considered a honeybee hive, but my uncle raised them, and I remember how much work they were, not to mention disease susceptibility. So Mason bees it is!
Wednesday, March 14, 2007


I'm a "foodie"....there, I said it. I don't blog about it, but I like to visit food blogs, and gladly try cool new recipies. Well now it's my turn to post one. I subscribe to "Cooks Country" magazine ... http://www.cookscountry.com/ and so far, no bad dish has ever come out of it. (Highly subjective and only my opinion, of course.) Anyhow, last night I was trying to be a good girl and eat my vegetables, so I tried this Italian Spinach...holy crap yum!!! It was my first attempt at wilting spinach too, and all went well. I substituted baby spinach for regular, but otherwise followed as written. So if you want to try for yourself:
Italian Spinach with Raisins and Pine Nuts
Be sure to press the spinach well in step 2. One small red onion can be substituted for the shallots. Using a Dutch oven (rather than a skillet) makes it easier and faster to wilt the spinach.Serves 4
1/4 cup golden raisins
1/4 cup hot water
2 tablespoons pine nuts
3 tablespoons extra-virgin olive oil
3 (10-ounce) bags curly-leaf spinach , stemmed and torn into bite-sized pieces
3 shallots , sliced thin
1/4 cup balsamic vinegar
1 teaspoon light brown sugar
Salt
1. Plump raisins in bowl of hot water, about 5 minutes. Toast nuts in Dutch oven over medium heat, stirring often, until golden, about 5 minutes. Transfer to plate.2. Heat 1 tablespoon oil in now-empty Dutch oven over high heat until shimmering. Add spinach in handfuls, stirring to allow each batch to wilt slightly before adding next. Continue to cook until spinach is uniformly wilted and glossy, about 1 minute. Transfer spinach to colander set over bowl and press with wooden spoon to release extra liquid.3. Wipe out Dutch oven, add remaining 2 tablespoons oil, and set over medium heat until shimmering. Cook shallots until softened, about 3 minutes. Drain raisins and add to shallots. Stir in vinegar and sugar and cook until syrupy, about 2 minutes. Add spinach and toss to coat. Season with salt and sprinkle with nuts. Serve.
The magazine is really cool, too....they test all kinds of stuff and give you "real" result. For instance-if the $5.00 paring knife works better than the $25.00 one, they tell you! Plus they give recipe "trial and error" details, find "lost" recipies that people write in and describe, etc.. So check them out...sure glad I did!
Take the bad with the good...I love Spring...really...but it seems there's a drawback to many things, and this is no exception. My "road" (a.k.a. "hell's half-mile") is going through it's annual thaw. So twice daily I get to try and figure which line to take so as not to get stuck. (Even in 4WD.) The other game, my favorite, is "how deep is it, anyway?"...some of these puddles have ice at the bottom, and some just mud. The "surprise" is not the fun part! But hey, it's not all bad-traffic sure isn't a problem!

Monday, March 12, 2007

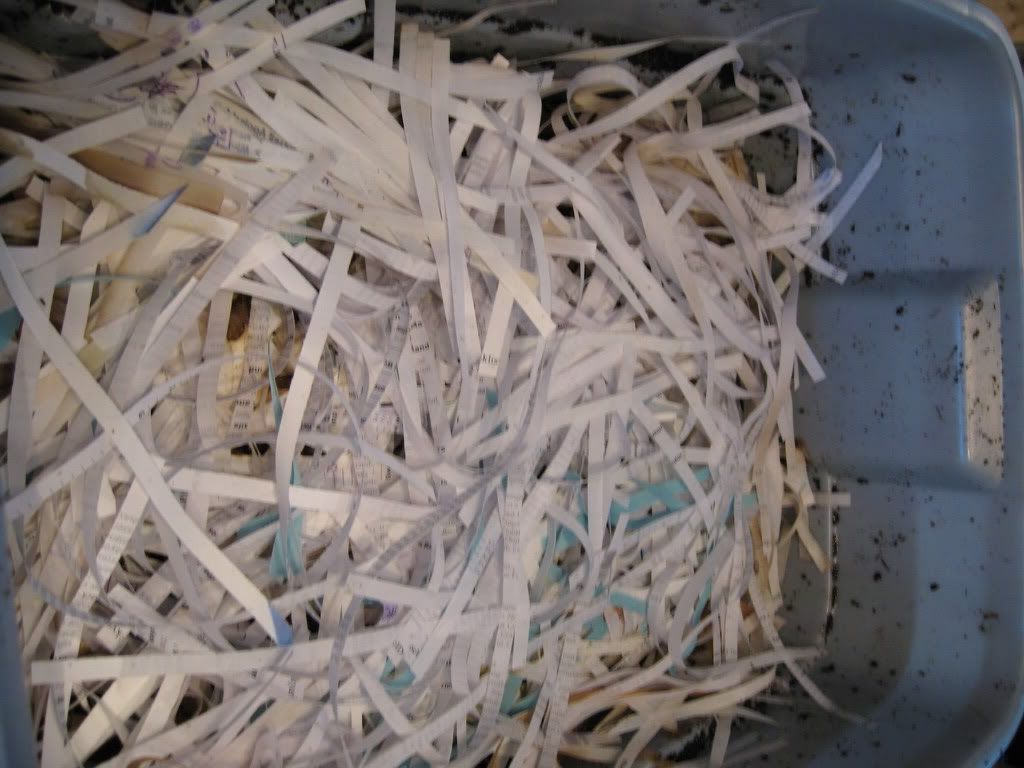
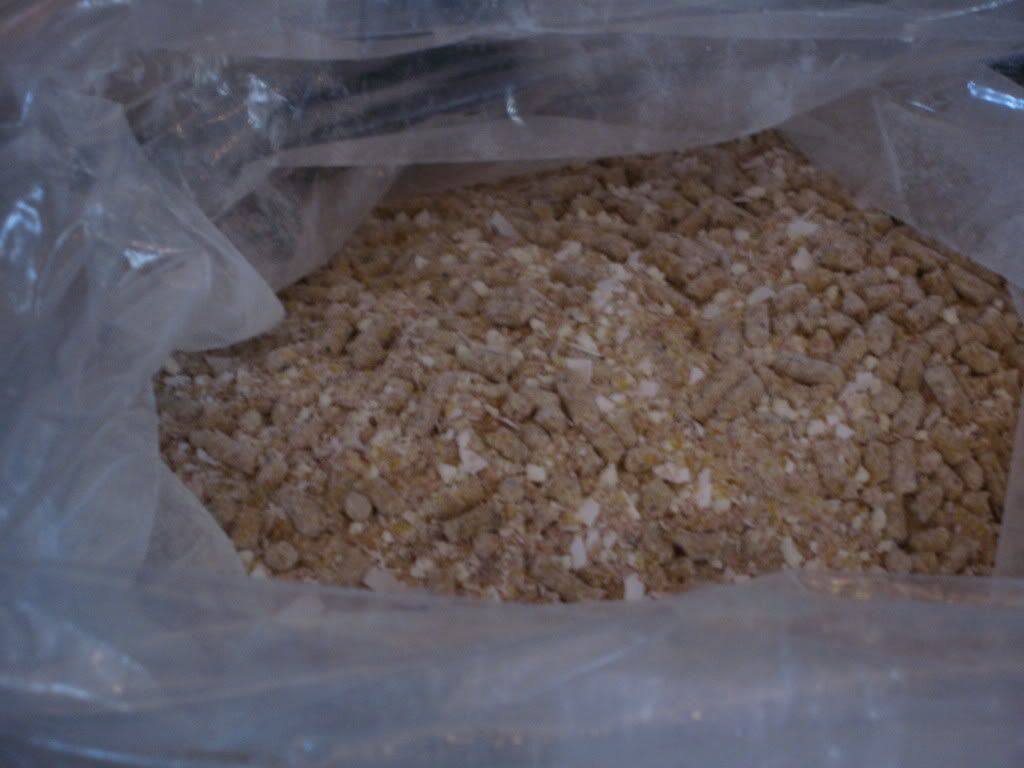
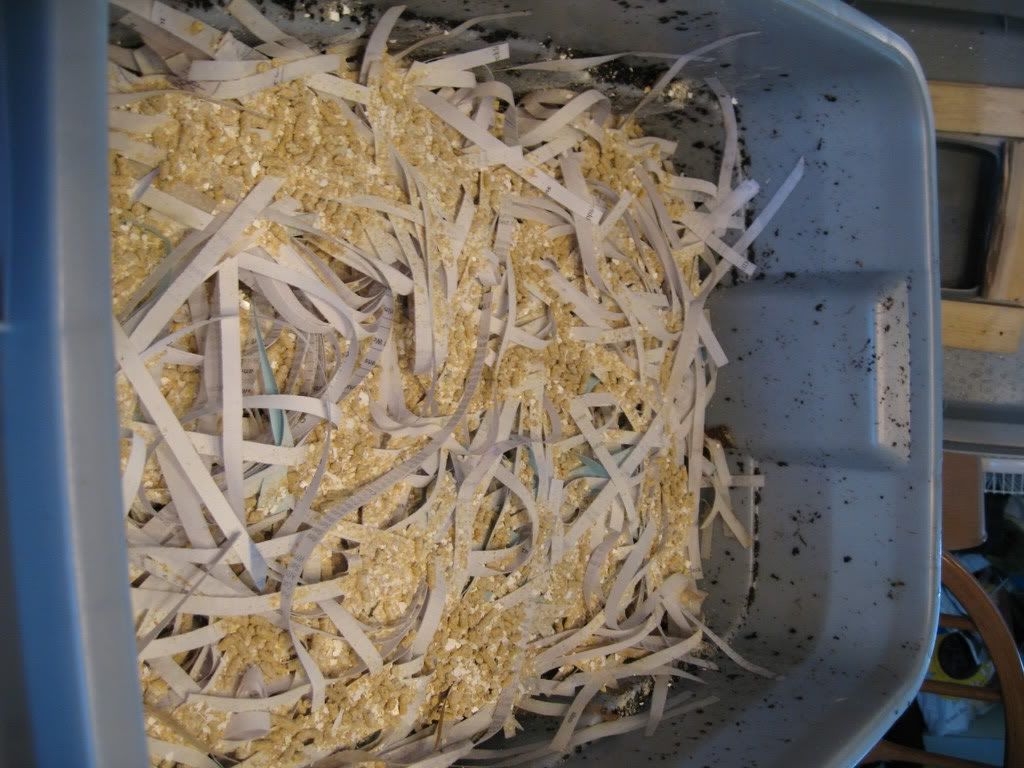
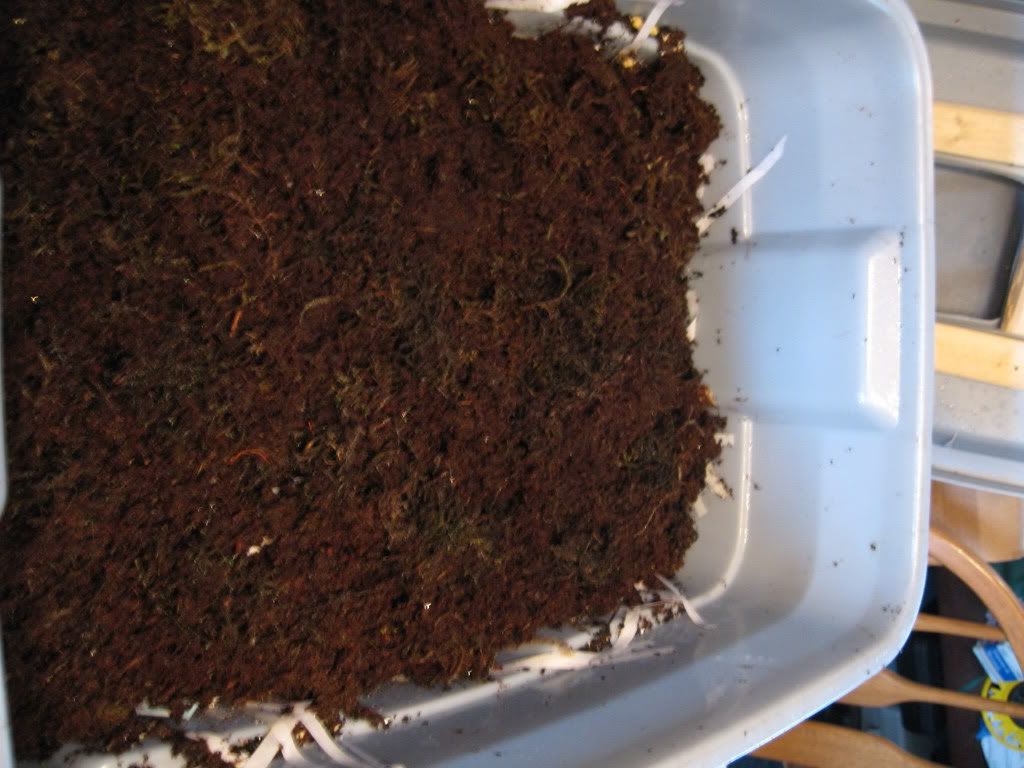
Worm chow! Come and get it! Finally mixed up my version of a "worm fattening mix" to plump up my wormies for the upcoming fishing season. There are various recipies for supplemental worm food (aside from the usual scraps), this link has an example http://www.wormswrangler.com/Art17.htm . Since I'm innovative/stubborn, I made my own mix: 1/2 cup powdered milk, 1/2 cup crushed egg shells (prev. rinsed and dried), 1/2 cup corn meal, 1/2 cup wheat germ, 1/2 cup wheat flour, and 2 1/2 cups chicken feed. I wanted granular feed rather than pelleted, but the only granular feed that the store had was for baby chicks, and it contained some sort of "medicine" also. So I mixed all this stuff, sprinked a moderate layer over the dry, shredded paper from last time, sprinkled moistened coir and spagnum moss over that, and sprayed it all with about 12 oz. water from the power sprayer. I'm told from the worm forums http://www.wormdigest.org/ that this fattening mix can sometimes generate excess heat, so I'll check the status in a day or so. So enjoy your meal wormies, and don't forget to tip your waitress!


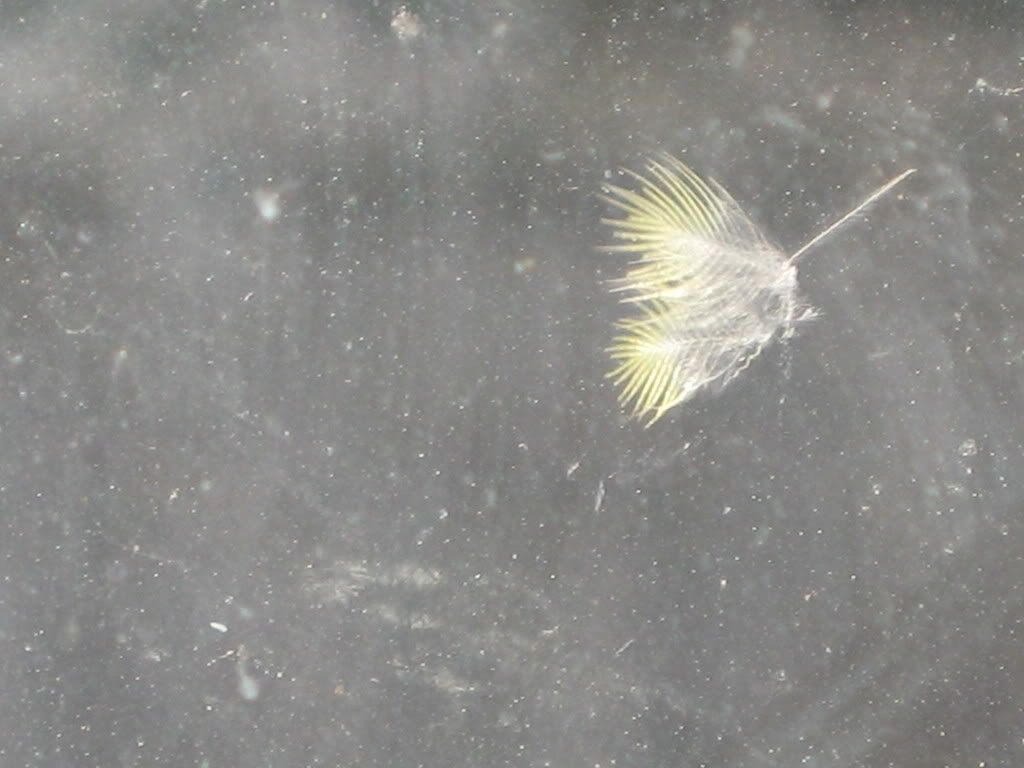
The Last Hurrah... spring exploded on the scene this past weekend, and some crazy snowmobilers tried to "make the most of it" (a.k.a. go through thin ice on the river and drown). This sensible rider even buzzed across the open water-nice! The birds were fairly exciteable too, judging from the feathers stuck to my window. Bet that left a mark!