Worm bin update....last post was May 31st, but I
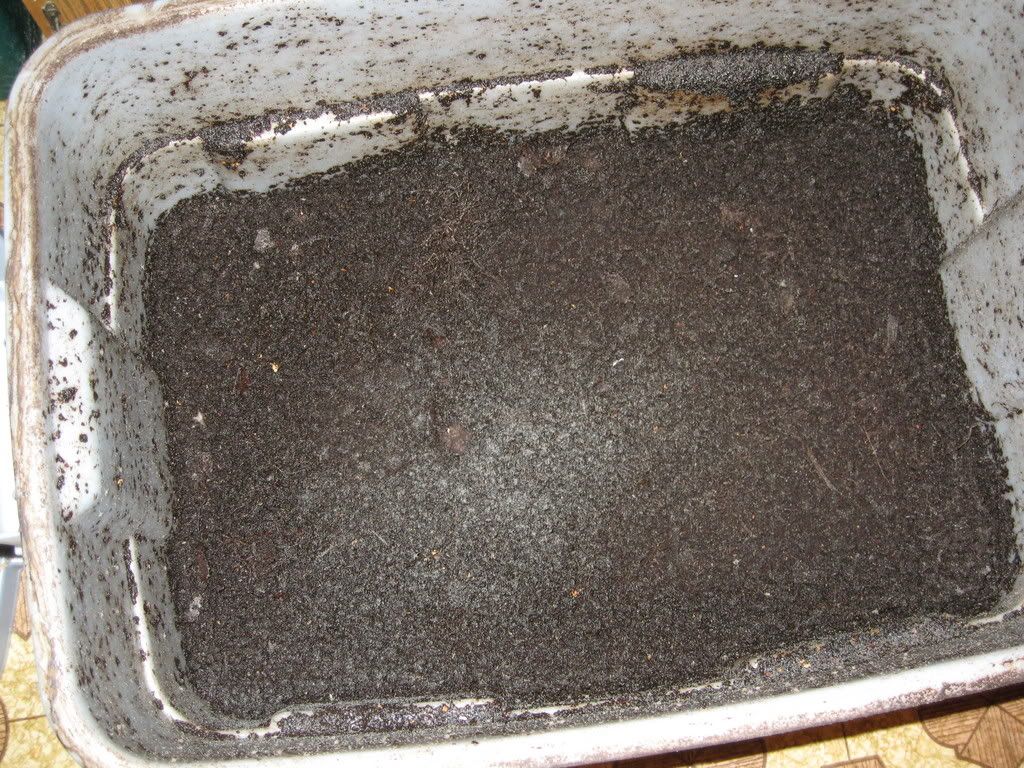
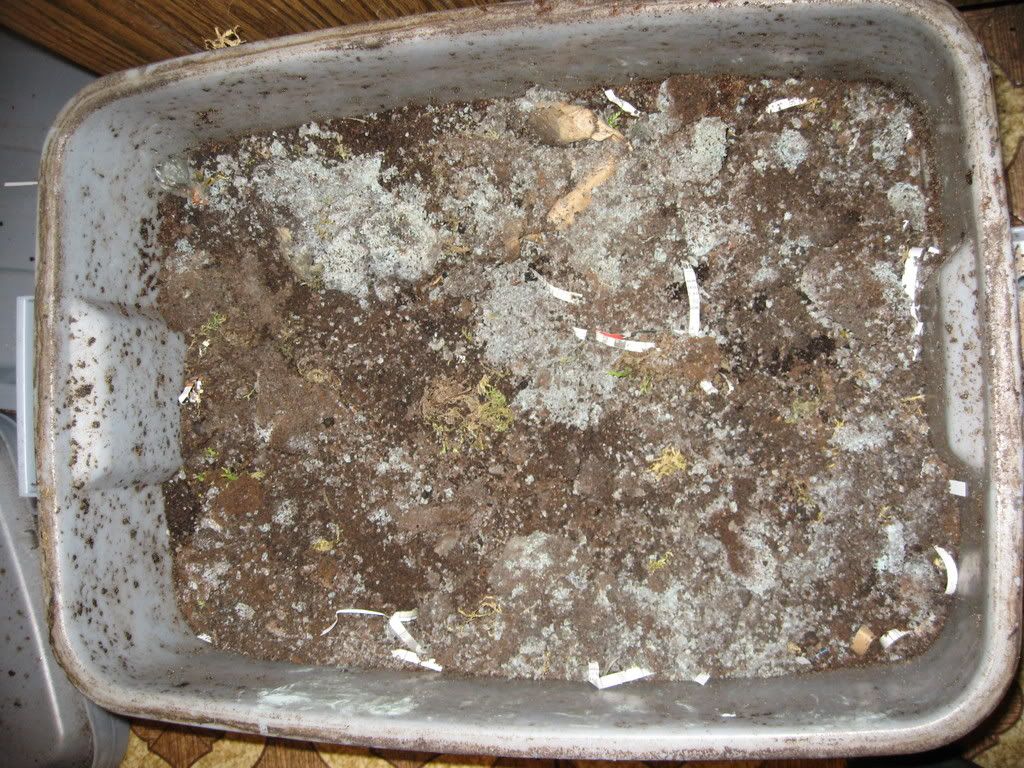
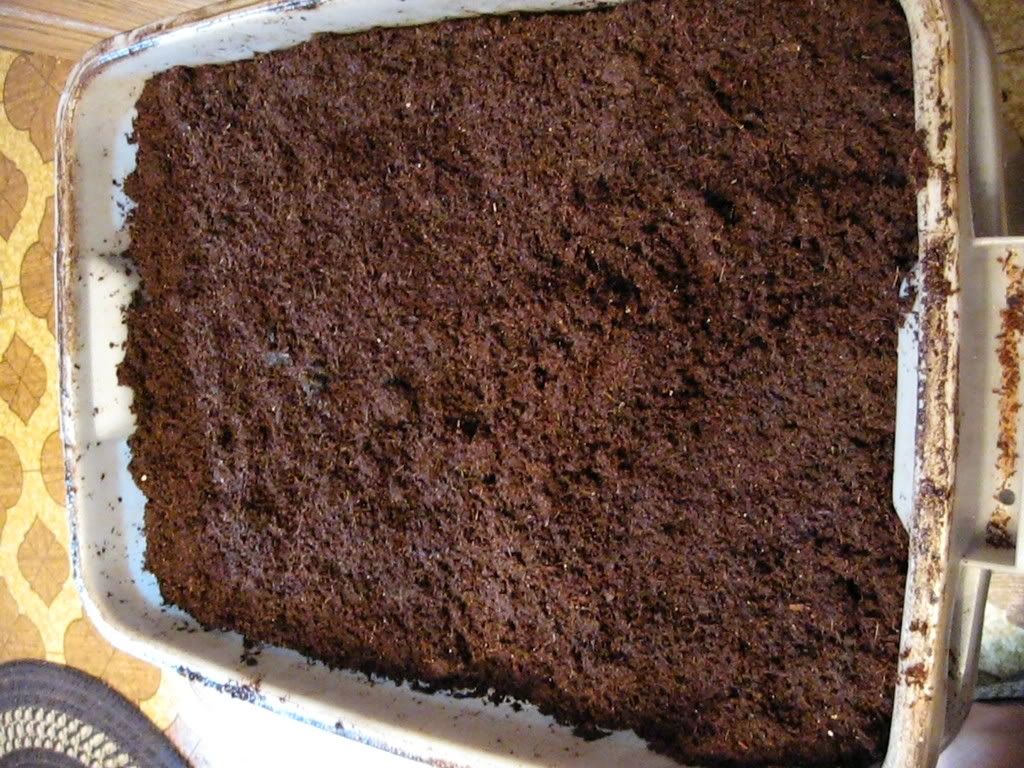
have been checking on and feeding my wormies since then! In fact, this update occurred June 30th, but I just had no time to post it. On average, I'm feeding my worms about once a month, and they could likely handle more, but this works for me. I just freeze scraps as I have them (which breaks down the cellular structure and helps the worms eat them faster/easier), then thaw and feed. So here's what I see when I opened the bin....moist, earthy "soil", with just a hint of fuzzy mold on top.
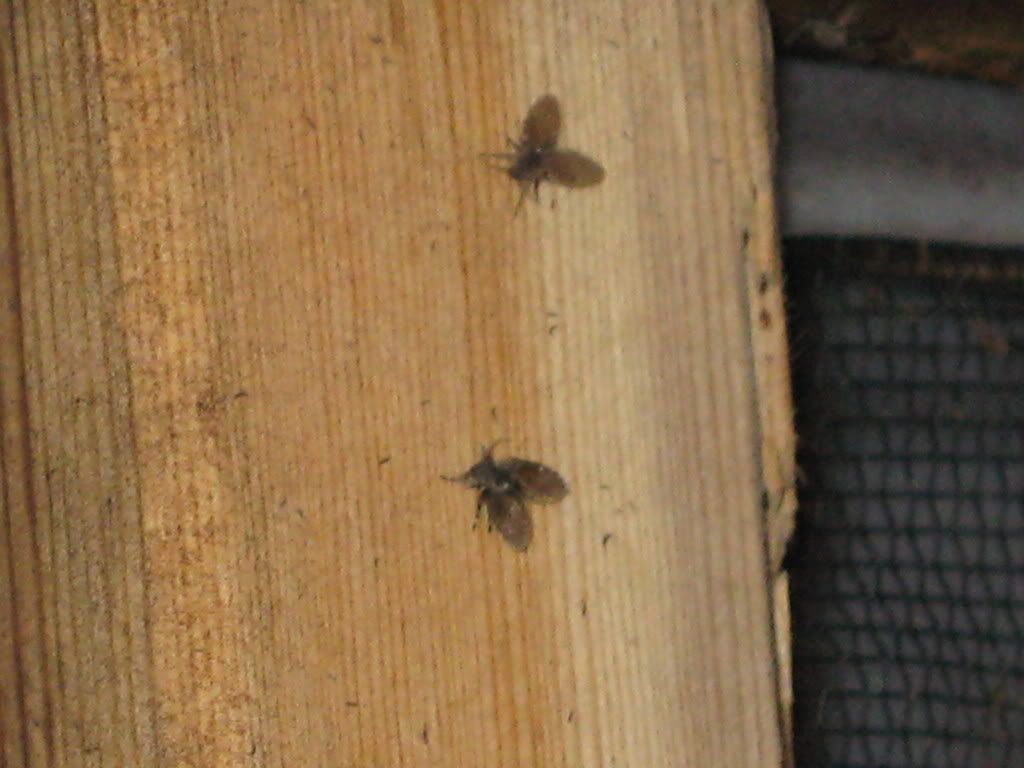
On the underside of the lid-little flies. Only a few, and they don't harm the worms, so no big deal. (To me, anyhow). I think it's a fruit fly of some sort, but I'm having trouble with the ID.
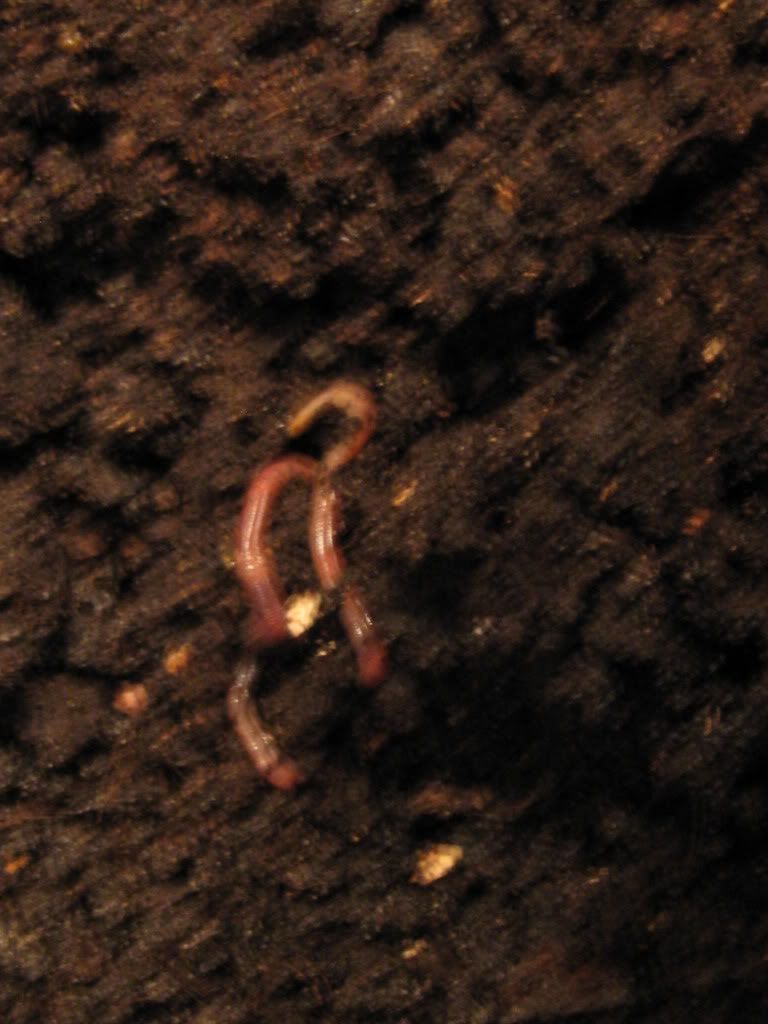
Anyhow, the worms are fairly numerous and looking healthy, despite the blurry image.
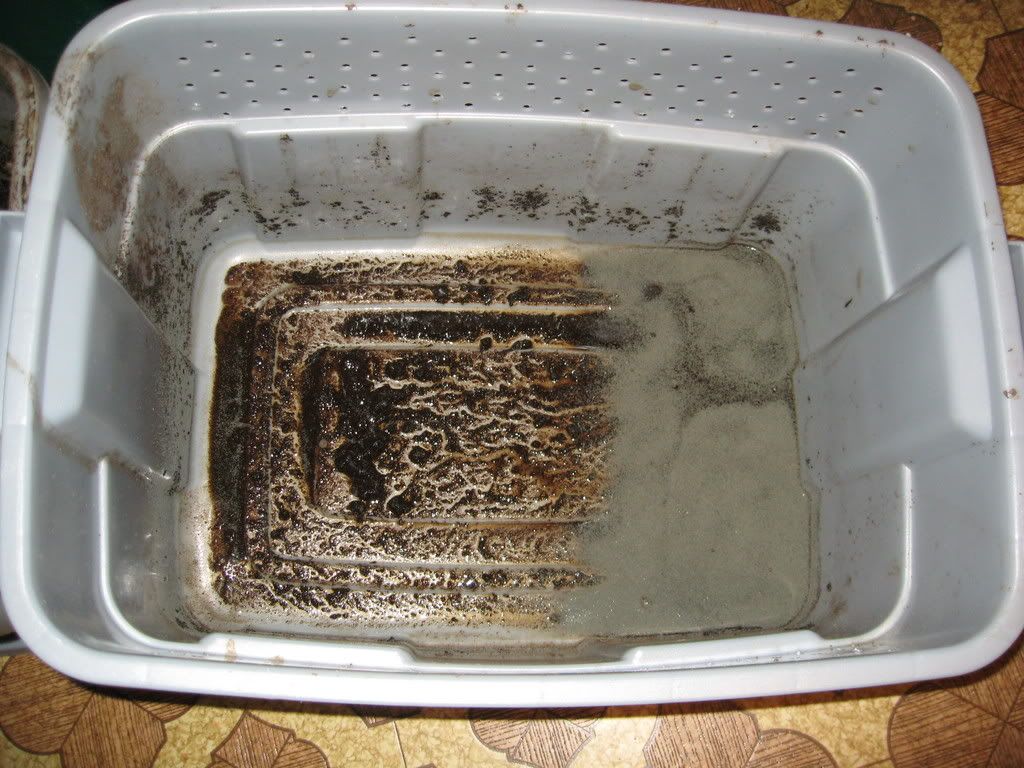
Some leachate in the bottom...the gray stuff looks like some sort of insect eggs... the flies, perhaps? I drained this and watered my schefflera houseplant with it, and despite having read that leachate has little "value" to plants,
my plant seems to like it!
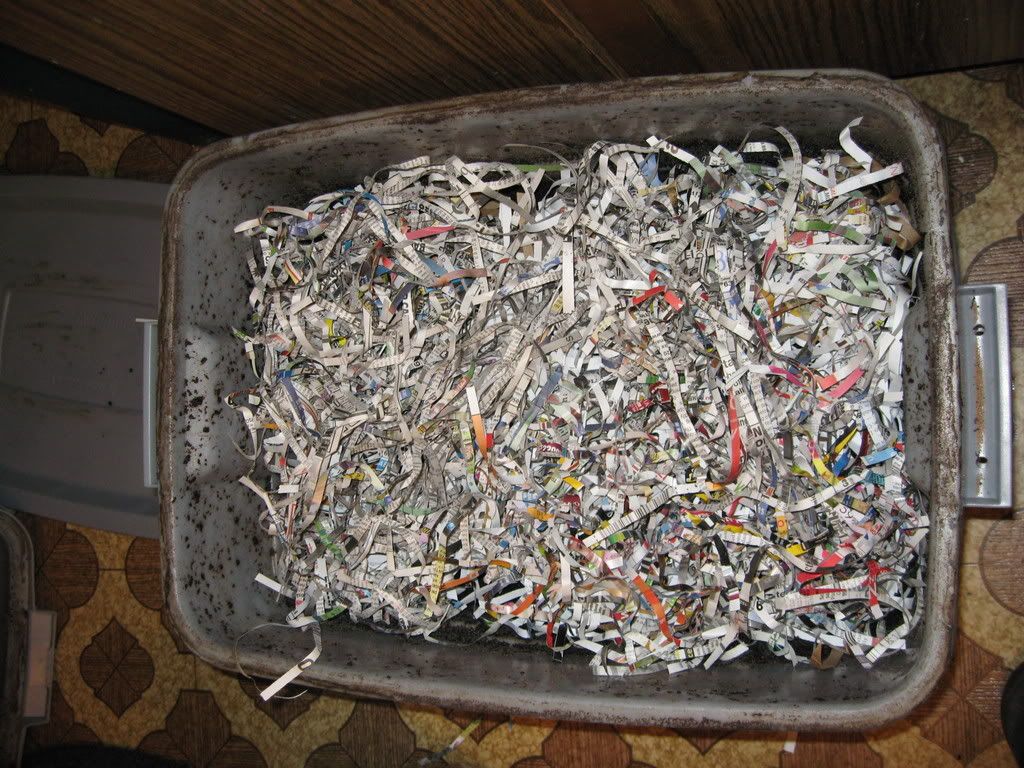
First I mixed up the bin a tad, then a layer of shredded newspaper....
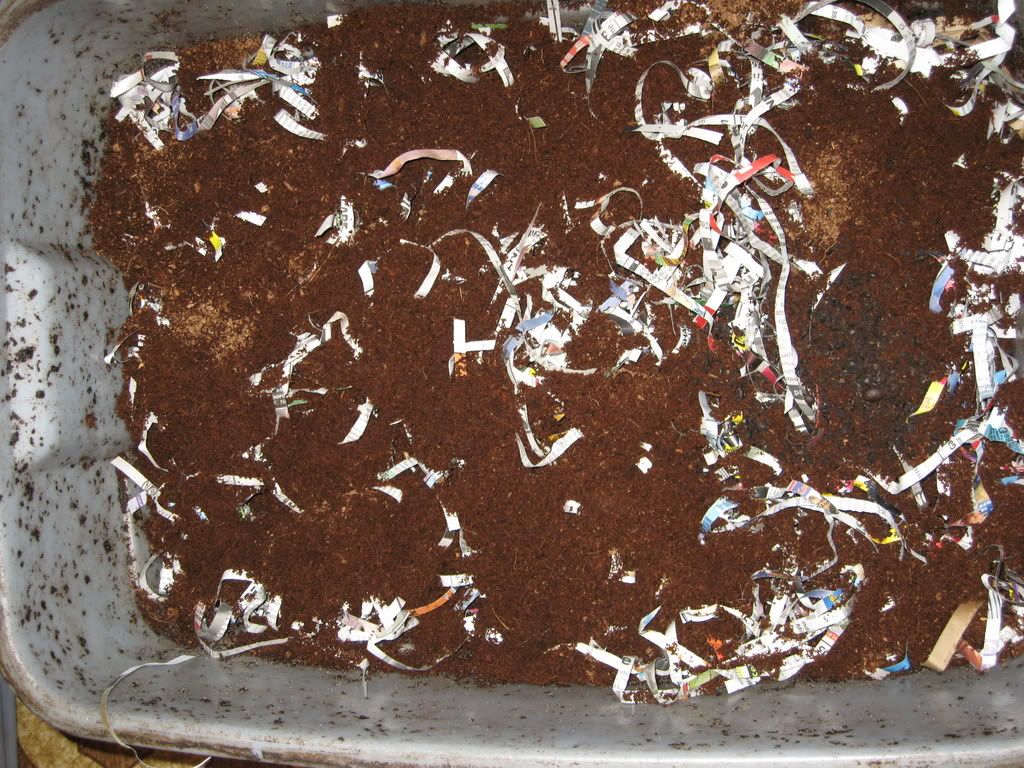
....then a little moistened coir (coconut husks)....
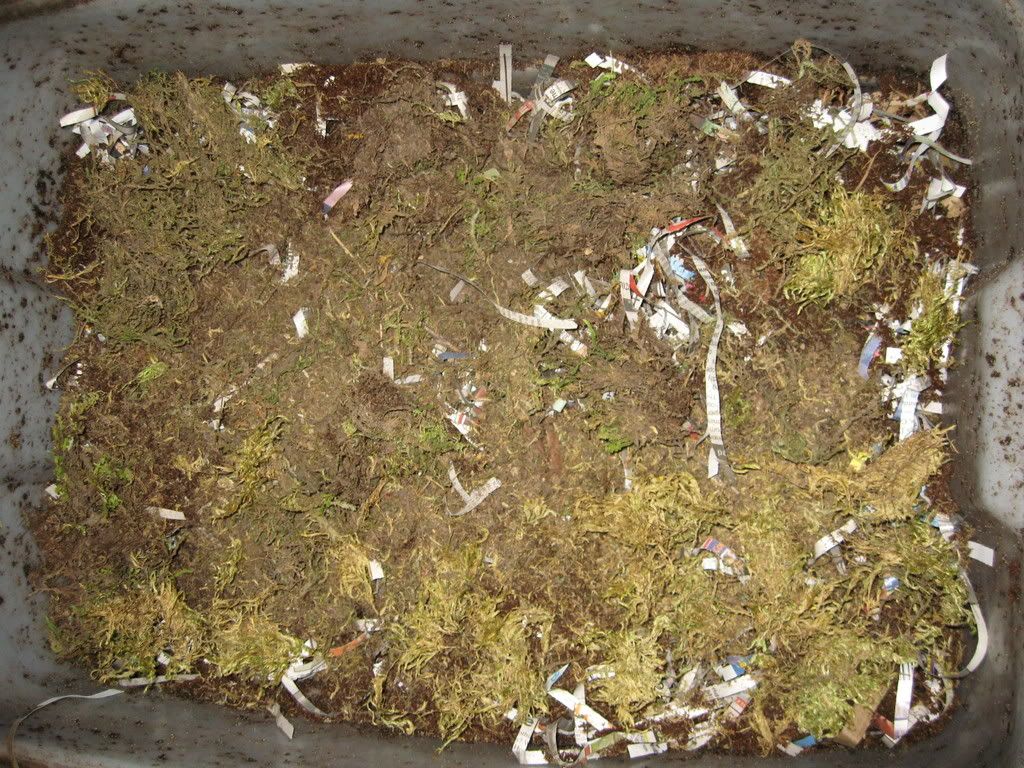
.....topped off with some spagnum moss.....
......then the coffee from 20+ filters....
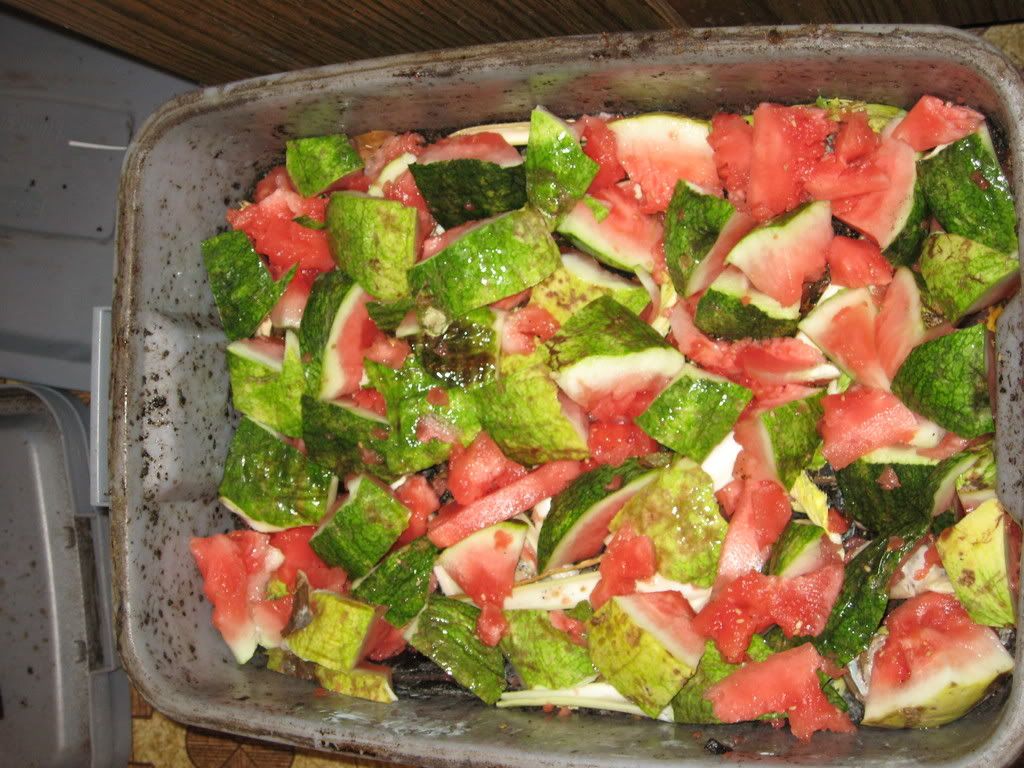
.....I had a small bag of thawed scraps, but this here is the main event: a nice small watermelon that was in the fridge a tad too long....
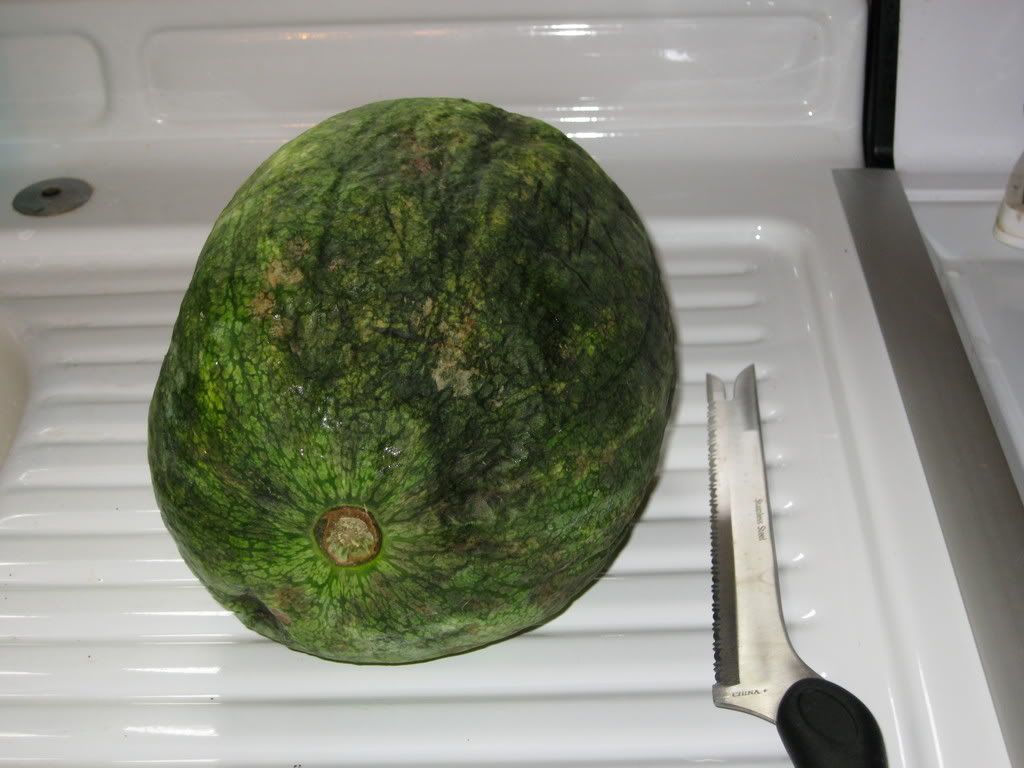
.....wow....pretty, huh? Worms really seem to love melon of all kinds, and putting in fresh scraps will be good in the long run, since I feed kind of infrequently. See, worms need the food to be decomposing somewhat before they eat it, so the thawed stuff will be available nutrients sooner, and the melon later. Method to my madness, y'know? ;-)
...topped this off with a nice thick layer of moistened coir, to help keep down the gnats as the food is consumed....
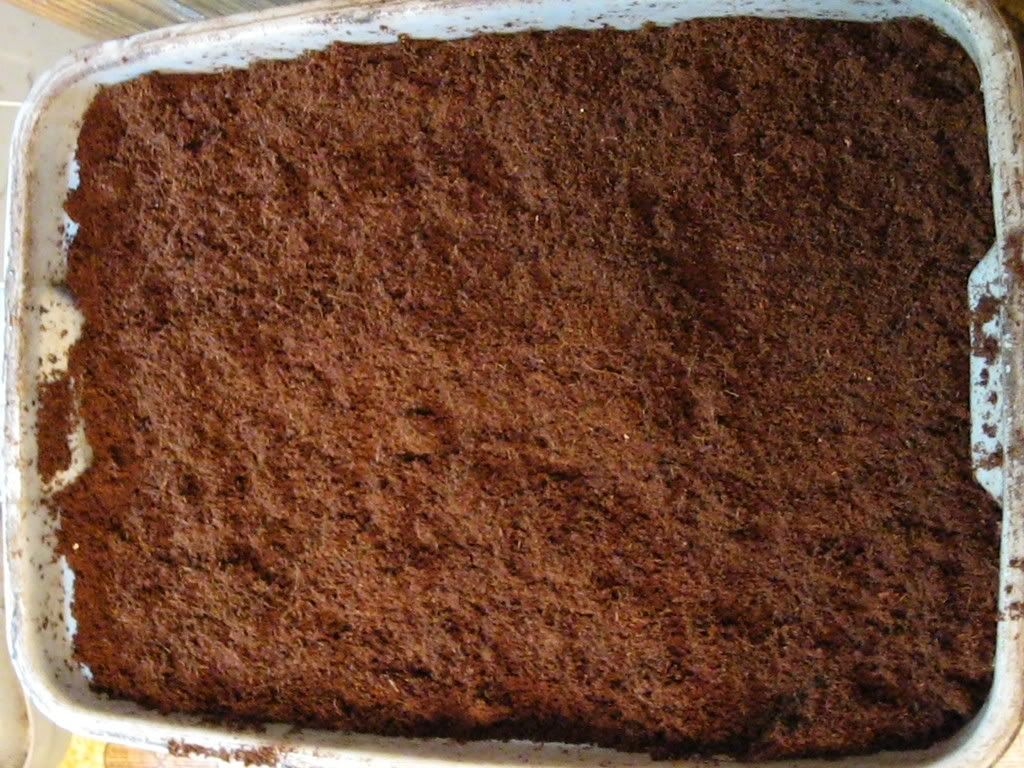
....and then sprayed that down really well. Okay, done for now! Man, these are the best low-maintenance pets
ever!


9 comments:
It looks so pretty when it's done.
My compost pile is 130 deg F right now, the hottest I've ever measured it.
That sounds hot! I've never checked my compost bin temp...what kind of thermometer do you use? I bet that compost will turn out really good. I've neglected mine this year, I need to post about it sometime.
This is so funny to find... because I just responded to your comment about the sedums and said that I'm glad the influence goes both ways, as I have a long list of projects for the fall/winter that begins with a worm bin. lol.
So maybe I just have to go back and read the original instructions, but do you just go back and place this on top of the other layer and let them work their way up, or do you add the worms to this specific bin at some point?
Well, as I add food, it's just a top layer, and they work their way up to it. I will add a top bin when this is just a little more full, then wait for most all of them to find their way into it. When they do, then I'll use that as the "bottom", and empty this one of the excellent compost. Then the process starts over.
This was really interesting Lisa, I have often wondered how earthworm castings come about. Thanks for the education. Plus it must be fun to tell people you are a earthworm farmer. At the nursery I work at we actually sell earthworm poop in recycled plastic bottles, It sells pretty well.
All the best to Lisa, BOB
Thank you, Bob! I have purchased earthworm castings myself, and the plants really seem to like them. Finally I figured, "Why the heck don't I just make a worm bin?" I see them sold all over, but with a little online research, I found a design that was really easy, and of course it was much more satisfying to make one rather than buy it. (Not that I have an aversion to spending money! ;-) Aside from a couple rookie mistakes initially, the wormies have hit a groove and seem quite content these days.
Lisa: This indoor worm composting is on my to do list. You are inspiring me!
Thanks Layanee! I think you'll really enjoy them, and if you want more info and links, check out my first couple posts under the "worm bin" label...there are lots of helpful people out there, especially in the forums!
I have an old laboratory thermometer, with mercury. I just slide it in there and try not to force it so it doesn't break. Because that would totally suck--having my compost bin contaminated with mercury. That would really, really suck.
An expertly made pile should heat up to 160 deg F to kill all the seeds and pathogens. Mine isn't that hot tho', and it's hard to imagine how it ever could be. I don't think it's big enough to get that hot. Anyhow, 130 is hot enough to drive all the worms to the peripheries. The worms in my compost bin are pretty big, I think. That would be an excellent blog thread. "How big are your worms?"
Post a Comment